
Disclosure: If you click any of our affiliate links and make a purchase, we will earn a commission (at no extra cost to you).
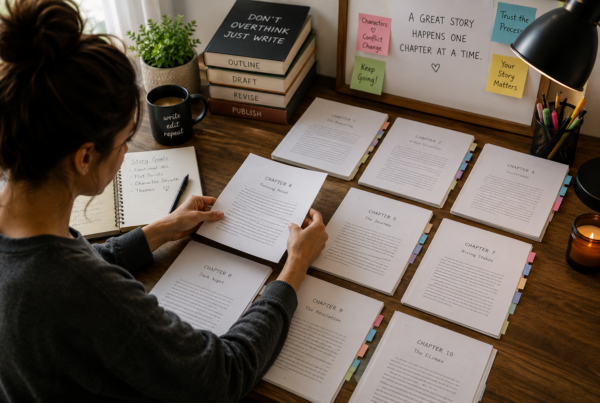
Self-publishing has opened the door for anyone with a story or expertise to become an author. Platforms like Kindle Direct Publishing allow writers to publish ebooks and paperbacks without needing a traditional publishing deal.
But many first-time authors hit a frustrating roadblock before their book ever goes live:
Formatting errors.
Even a well-written manuscript can be rejected—or look unprofessional—if it isn’t formatted properly for KDP.
The good news? Formatting your book correctly is much easier when you know the steps.
In this guide, you’ll learn exactly how to format your book for Amazon KDP so it looks professional and passes upload checks the first time.
Step 1: Clean Up Your Manuscript
Before worrying about layout or design, start with a clean manuscript.
Most authors write their books in tools like Microsoft Word or Google Docs. That’s perfectly fine, but these files often contain hidden formatting issues that cause problems later.
Begin by fixing:
• Inconsistent fonts
• Random spacing
• Extra paragraph breaks
• Tabs used for indentation
• Manual page spacing
Your manuscript should ideally use:
-
One font
-
One consistent paragraph style
-
Clean spacing
This will make the formatting process much smoother.

Step 2: Insert Proper Chapter Page Breaks
One of the most common mistakes authors make is pressing “Enter” multiple times to create space between chapters.
Instead, you should insert page breaks.
In Microsoft Word this can be done by:
Insert → Page Break
Each chapter should begin on a new page using a proper break rather than blank space.
This ensures that when the book is converted into an ebook or print file, chapters display correctly.
Step 3: Format Your Chapter Headings
Your chapter titles should follow a consistent structure.
Example:
Chapter 1
The Journey Begins
Tips for chapter formatting:
• Center the chapter title
• Use consistent font size
• Keep spacing consistent
• Avoid decorative fonts
Clean typography improves readability and makes your book look professionally published.
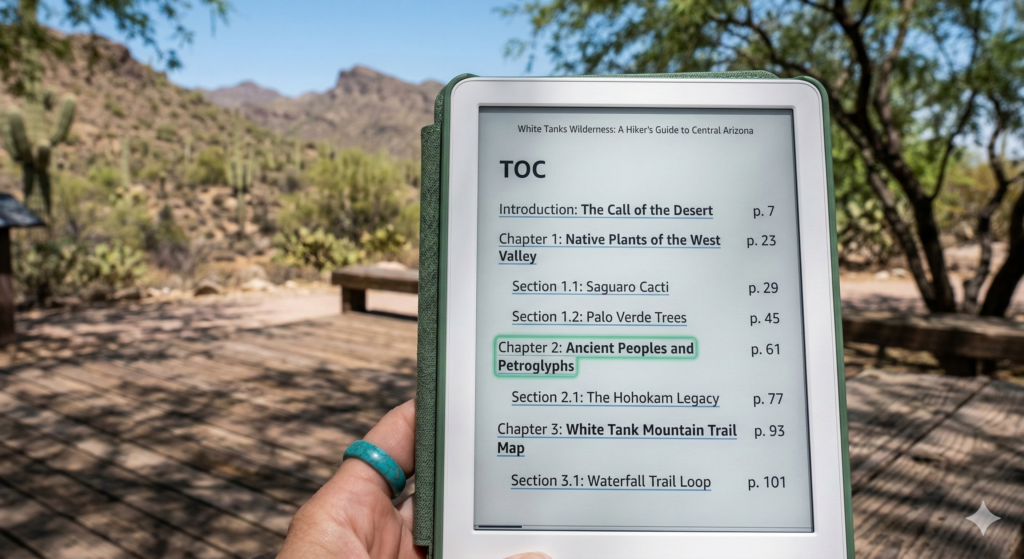
Step 4: Create a Clickable Table of Contents
Ebooks require a linked table of contents so readers can jump to chapters easily.
When publishing on Kindle Direct Publishing, this is highly recommended and often expected by readers.
In Word, you can create a table of contents automatically by using Heading styles.
Steps:
-
Apply “Heading 1” to chapter titles
-
Insert Table of Contents
-
Word generates a clickable navigation system
When converted into an eBook, these links allow readers to navigate chapters instantly.
Step 5: Choose the Correct Trim Size (For Print Books)
If you’re publishing a paperback through Kindle Direct Publishing, your book must be formatted to match a specific trim size.
Popular trim sizes include:
- 5 x 8
- 5.5 x 8.5
- 6 x 9
Your trim size determines:
-
Margins
-
Page count
-
Spine width
-
Layout proportions
6 x 9 is the most common size for non-fiction books.
Choosing the wrong trim size can result in formatting errors or misaligned margins.
Step 6: Set Professional Margins
Books require different margins than normal documents.
Recommended margins for most books:
- Top: 1 inch
- Bottom: 1 inch
- Inside: 0.75–1 inch
- Outside: 0.5–0.75 inch
Print books also require a gutter margin, which allows space for binding.
Without this, text may disappear into the spine of the book.
Step 7: Export the Correct File Type
Once your formatting is finished, export the correct file format.
For eBooks:
DOCX or EPUB files work best.
For print books:
PDF files are usually required.
You can then upload these files directly to the KDP dashboard.

An Easier Option: Use Formatting Software
Manually formatting a book can be time-consuming, especially for longer manuscripts.
Many self-publishing authors use specialized formatting tools such as Atticus writing and formatting software.
These tools automatically:
-
Format chapters
-
Generate tables of contents
-
Apply professional layouts
-
Export files for eBook and print
Another professional tool used by many authors is Vellum book formatting software, which offers high-quality layout designs for books.
Final Thoughts
Formatting might not be the most exciting part of publishing a book, but it plays a huge role in how readers experience your work.
A poorly formatted book can lead to:
-
Negative reviews
-
Reader frustration
-
Reduced credibility
But when your formatting is clean and professional, your book instantly feels more polished and trustworthy.
Whether you format the manuscript yourself or use software tools, taking the time to prepare your book properly ensures it looks just as professional as traditionally published titles.
And that small effort can make a big difference in your success as a self-published author.
Our Affiliate Links:
- Miblart – cover designs and other services
- Bookshop – curated book lists
- Scrivener – writing workflow
- Fiverr – find freelance talent
- Book Bolt – keyword search
- Publisher Rocket – keyword/category search
Our Referral Links:
- Upwork – more freelance talent
- Printful – print-on-demand merch
- Creative Fabrica – fonts and images
Join our community! Follow @TrailHawkPublishing for publishing tips and behind-the-scenes updates: